Review by Denis Dunning/photos by the author
Static grass has come a long way since Boyd Models initially introduced this scenery product in the United States in the 1970s. First produced by the German firm Noch, the fibers were sprinkled onto the surface using what was called a “puffer bottle,” still sold today. This little plastic bottle sprayed the fibers, but they did not stay up very well.
Static grass really became popular when electric static grass applicators were developed. The first applicator was designed by Noch for its grass and worked well but was very expensive. Since then, several different types of applicators have been marketed, from quite expensive units to very low-cost ones, which basically use a bug zapper and batteries.
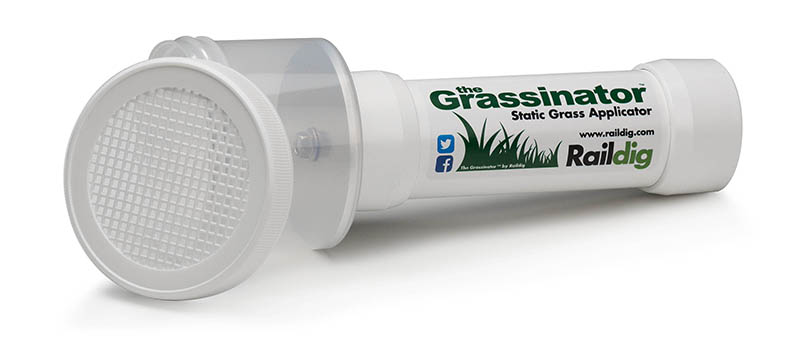
Though first designed in 2008, the new Grassinator from Raildig includes many improvements from the company’s first offering. This static grass applicator is designed to help the modeler apply the fibers with an electric charge that makes each individual fiber stand up straight. The Grassinator generates a negative charge on the custom-cut aluminum disc mounted inside the grass container. An opposing positive charge runs down through the silicone grounding wire to the alligator clip. Electricity flows from negative to positive once power is applied, which produces a direct path for your static grass to travel.
 The complete kit includes the applicator made with furniture grade Schedule 40 PVC with a wire and alligator clip attached, a solid-plastic lid, a removable plastic lid with holes, a 120-volt transformer with a 12-volt output, and a 10-foot extension cord from the transformer to the applicator. The extension cord is very helpful, and you can work where you need to without having to keep moving the power cord. Finally, a heavy-duty Potters Needle is included. This item replaces the nail that most applicators use, and this Potters Needle seems to work better. It has a large wood handle that makes it easy to grip and a sharp point that easily sticks into your base, and it leaves a smaller hole when removing it from your newly grassed area.
Raildig offers either an 8-ounce or a larger 16-ounce grass container on its Grassinator. The smaller, more maneuverable 8-ounce container seems to be a bit easier to work with from my experience. A bonus to the 8-ounce container is that it keeps the aluminum disc in the applicator just a little closer to the area you’re working on for a better static charge.
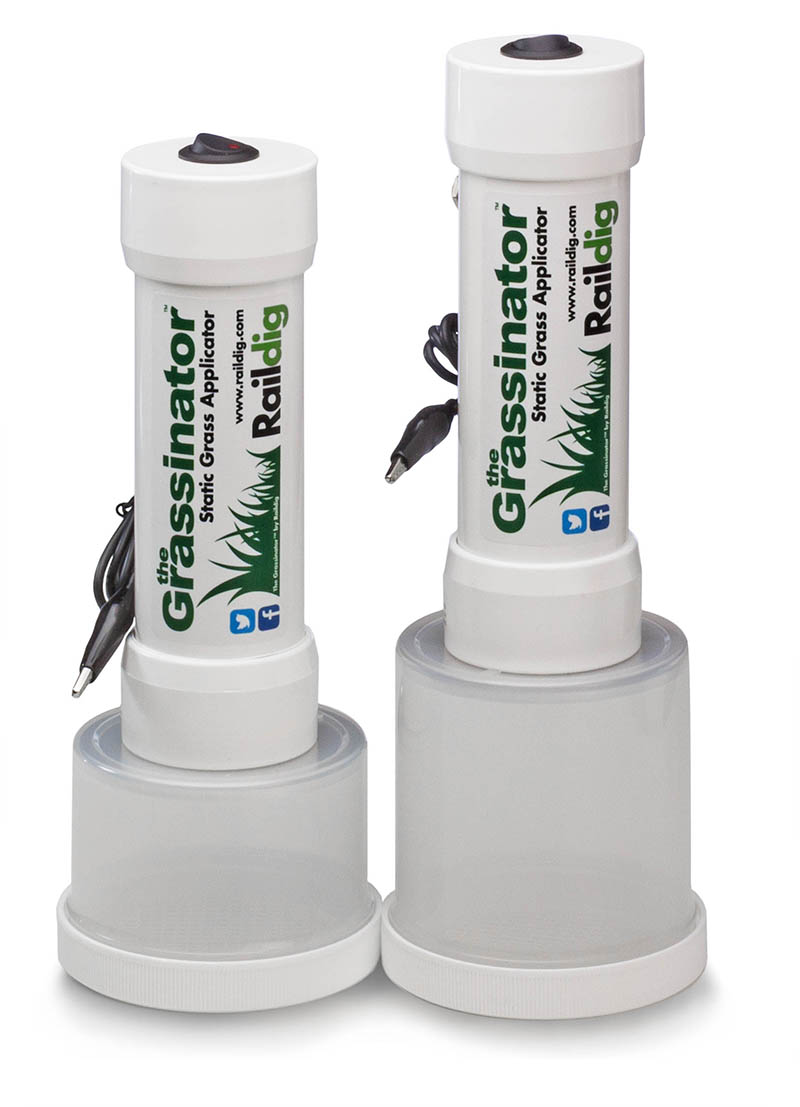
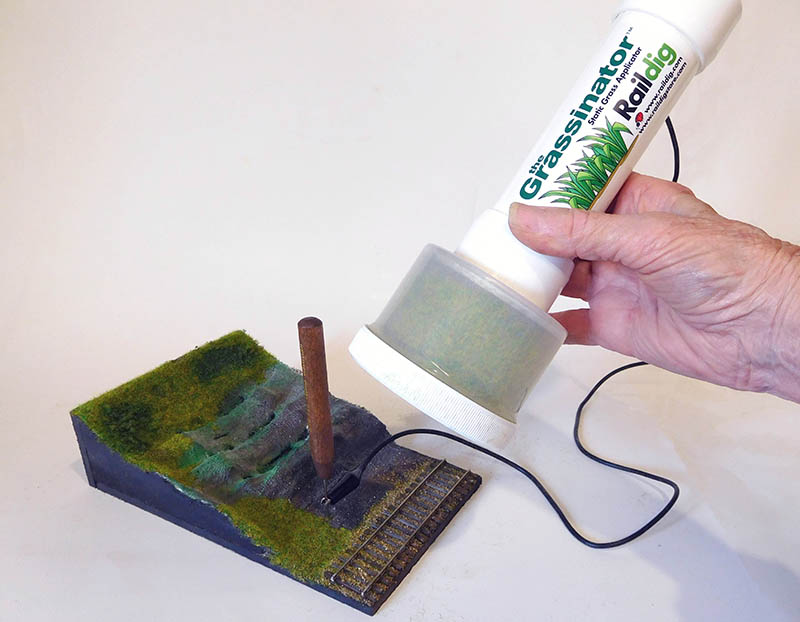
Raildig offers its Grassinator unit in two sizes. One version (left) includes a see-through container able to hold 8 ounces of static grass fibers. The larger version (right) can handle up to 16 ounces of static grass fibers.
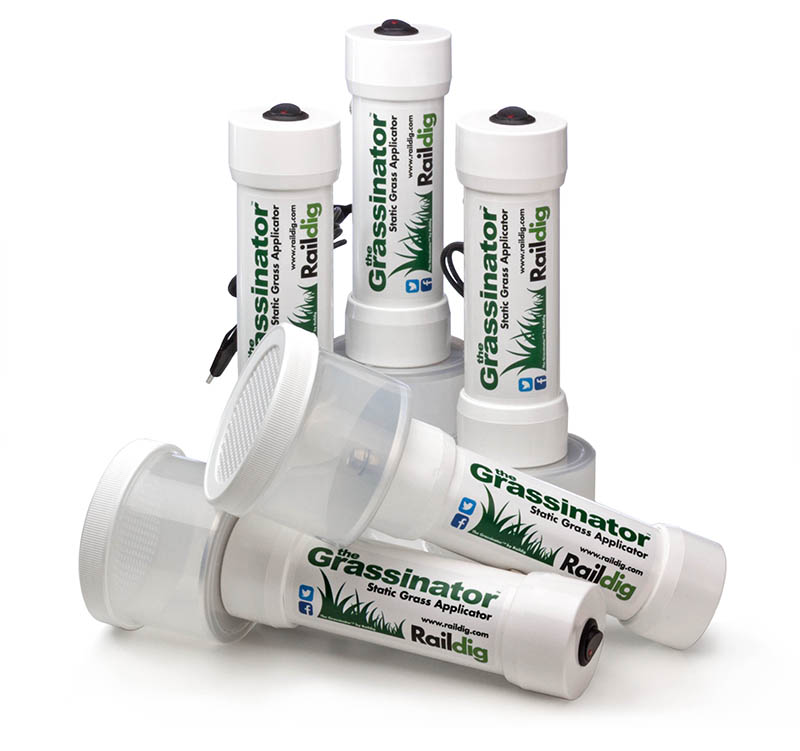
A 2-Lid Accessory Pack is available and helps with a precise grass application. These lids use the same mesh size but with smaller overall openings to better control exactly where your grass goes on your surface area. Of course, the modeler can apply a bit of tape to the lid that comes with the Grassinator to create a smaller opening too; these new lids just make things a bit easier and quicker!
The principle behind the electric applicator is that the static electricity makes the individual fibers stand up with a very realistic look, much better than just a layer of ground foam. Ground foam works well in many places, but to get the look of blades of grass and weeds, as opposed to leafy ground cover, the static grass is quite amazing.
Static grass is individual man-made fibers, usually from nylon, rayon, or polyester, and comes in a variety of colors. They are available in various lengths, depending on the effect you desire. The longer fibers show up much better, but the small 2mm size is best for well-maintained lawns. In HO, even this smallest size fiber is almost seven inches tall.
Applying the grass is rather easy once you have worked with it a bit. The grass can be held in place with either white glue or acrylic-based paints — the grass will stick well to both. It is best to mask off the area you are working in because the fibers tend to go everywhere. The fibers are loaded into the plastic container atop the applicator, though not too full. The Potters Needle, or a small nail, is pushed into the wet glue and then the alligator clip is attached to the metal needle. If you are working on large areas, it is best to keep moving the Potters Needle to the center of the area where you desire the fibers to land. There is a red LED in the base of the Grassinator unit so that you are sure the power is being applied. Depending on which size lid is used, the applicator is held about an inch above the surface and shaken and moved back and forth over the wet glue.
Once the static grass is applied, and the glue is dry, you can add more grass on top. This will create a nice look and add depth to the finished scene. Using a small brush, apply more glue to desired areas and attach the needle close to the glue. Turn on the applicator and then lightly tap the unit to let more grass land on the wet glue.
You achieve good effects using a mix of various lengths of fibers and colors. Unless you are making a mowed lawn, the variety of fibers will give a much better appearance and more realism to scenes and surfaces. Let the glue set well — at least a few hours — and then use a vacuum cleaner to pick up the excess fibers. You can fix any bare spots by applying more glue and more grass to those areas that didn’t fill in to your desired appearance.
Several companies make static grass. Woodland Scenics, Noch, Peco, and Scenic Express’ Silfor. I suggest you try some of the fibers from each company and see which effect you like best. For this evaluation, Woodland Scenics static grass provided excellent results.
I tested Raildig’s Grassinator with a variety of brands of fibers and found that they all worked well with the unit. The longer fibers produced the look of long grass and weeds as would be found along the right-of-way and in fields.
Using the accessory lids proved it be very beneficial when applying the grass to smaller areas. The fibers are very light weight, and the smaller lids keep the material within a reasonable area, though you will still want to vacuum up the excess when you are finished.
This is an exceptionally well-made tool, and it is easy to see that the company has spent a lot of time developing an applicator that should last for years. It is easy to use with the handle being small enough to get a good grip. The various size lids are a nice addition and are made sturdy enough to resist wear. All in all, this tool is a great addition to the modeler’s toolbox.
Raildig
Grassinator
available with 8- or 16-ounce container
MSRP: $109.00
Lid Accessory Pack
MSRP: $9.50